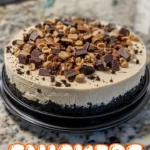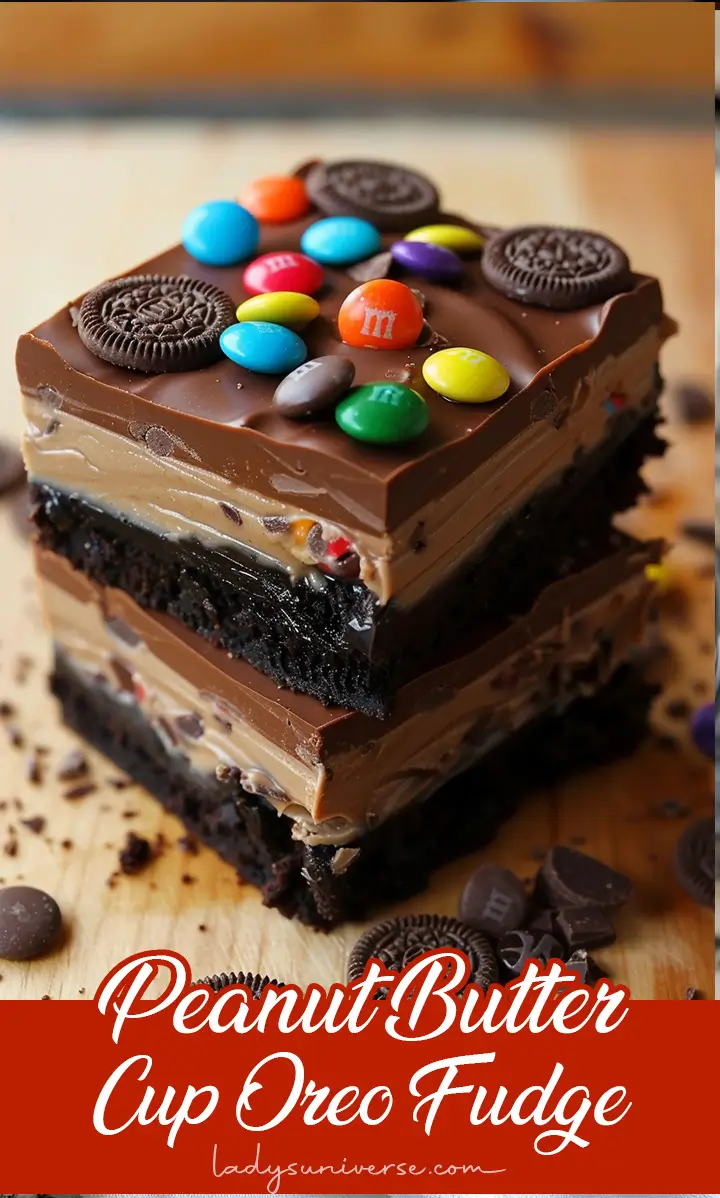
Peanut Butter Cup Oreo Fudge is the ultimate indulgence for anyone who loves a rich, chocolatey, and peanut buttery treat. It’s super simple to make, requires only a few ingredients, and comes together in no time. This no-bake recipe combines the best of all worlds: Reese’s peanut butter cups, crunchy mini Oreos, and smooth milk chocolate, all topped with extra Oreos and mini M&Ms for that perfect finishing touch. This fudge is ideal for holidays, parties, or just when you’re in the mood for something sweet and decadent!
Contents
Ingredients:
Main:
- 9 Reese’s Peanut Butter Cups
- 1 cup mini Oreos
- 1 (12 oz) can chocolate frosting (not whipped)
- 10.5 oz milk chocolate (chips or chopped)
Toppings:
- ½ cup mini Oreos
- ⅓ cup mini M&Ms
Instructions:
- Prepare the Pan:
Grease an 8-inch square cake pan with Pam for Baking or line it with parchment paper for easy removal. - Layer the Peanut Butter Cups and Oreos:
Evenly space the Reese’s Peanut Butter Cups in the bottom of the pan. Sprinkle 1 cup of mini Oreos over the peanut butter cups. - Melt the Chocolate:
In a microwave-safe bowl, combine the chocolate frosting and the milk chocolate. Microwave on high for 1 ½ minutes, then stir. If the chocolate isn’t fully melted, return to the microwave for another 30 seconds. Stir until smooth. - Pour the Chocolate Mixture:
Pour the melted chocolate mixture into the square pan, spreading it evenly to cover the peanut butter cups and Oreos completely. - Add Toppings:
Sprinkle the remaining mini Oreos and mini M&Ms over the top of the fudge, pressing them in slightly so they adhere to the melted chocolate. - Chill the Fudge:
Place the pan in the refrigerator and chill for at least 1 hour, or until the fudge is firm. - Slice and Serve:
Once the fudge has set, remove it from the pan, slice into squares, and serve. Enjoy your sweet and crunchy Peanut Butter Cup Oreo Fudge!
Pro Tips:
- Pan Lining: Lining your pan with parchment paper will make it easier to lift out the fudge for clean slicing.
- Melt with Care: Be careful not to overheat the chocolate in the microwave, as it can burn quickly. Stir between intervals to ensure it melts smoothly.
- Custom Toppings: Feel free to get creative with your toppings! You can swap out the M&Ms for chopped nuts, sprinkles, or even extra peanut butter cups.
FAQs:
Q: Can I use other types of chocolate?
Absolutely! If you prefer dark chocolate or semi-sweet chocolate, you can use those instead of milk chocolate. It will give the fudge a slightly less sweet but equally delicious flavor.
Q: How long can I store the fudge?
You can store the fudge in an airtight container in the refrigerator for up to 1 week. For longer storage, you can freeze the fudge for up to 2 months. Just thaw in the fridge before serving.
Q: Can I make this fudge without a microwave?
Yes! If you don’t have a microwave, you can melt the chocolate and frosting together in a heatproof bowl over a pot of simmering water (double boiler method). Stir until smooth.
Q: Can I add peanut butter to the fudge?
Definitely! You can swirl a bit of melted peanut butter into the chocolate mixture before it sets for extra peanut buttery goodness.
Final Thoughts:
This Peanut Butter Cup Oreo Fudge is an easy, no-bake dessert that combines all the best flavors—chocolate, peanut butter, and Oreos—in one gooey, crunchy, delicious bite. Whether you’re making it for a party or just treating yourself, this fudge is bound to be a hit! Just be warned—it’s hard to stop at just one piece!