Last Tuesday, my neighbor knocked on my door at 7:15 p.m., still in her scrubs from the hospital. “Please tell me you have something sweet,” she practically begged. Twenty minutes later, I handed her a plate of these strawberry cheesecake bars, and she actually teared up. That’s the power of a good dessert, y’all.
These bars combine everything you love about classic cheesecake with the convenience of a handheld treat. No water bath required!
Contents
Ingredients for Perfect Strawberry Cheesecake Bars
For the crust:
- 1½ cups graham cracker crumbs (150g)
- ⅓ cup melted butter (75g)
- 3 tablespoons granulated sugar (40g)
For the cheesecake layer:
- 24 oz cream cheese, room temperature (680g)
- ¾ cup granulated sugar (150g)
- 3 large eggs
- 1 teaspoon vanilla extract
- ¼ teaspoon salt
For the strawberry topping:
- 2 cups fresh strawberries, hulled and sliced (300g)
- ¼ cup strawberry jam (80g)
- 1 tablespoon lemon juice

Step-by-Step Instructions
- Preheat your oven to 325°F (165°C) and line a 9×13-inch pan with parchment paper.
- Mix graham cracker crumbs, melted butter, and 3 tablespoons sugar until it resembles wet sand.
- Press mixture firmly into prepared pan, creating an even layer that climbs slightly up the sides.
- Bake crust for 8 minutes while you prepare the filling.
- Beat cream cheese until completely smooth—no lumps allowed here, folks.
- Add ¾ cup sugar gradually, beating until fluffy and light.
- Incorporate eggs one at a time, then vanilla and salt until just combined.
- Pour cheesecake mixture over warm crust, spreading evenly with an offset spatula.
- Bake for 25-30 minutes until center barely jiggles when you tap the pan.
- Cool completely at room temperature, then refrigerate for at least 4 hours.
Perfect.
- Combine sliced strawberries, jam, and lemon juice in a bowl before serving.
- Cut into squares and top each piece with the strawberry mixture.
Pro Tips & Crowd-Pleasing Variations
Room temperature is everything. Your cream cheese should give slightly when pressed—like a ripe peach. I learned this the hard way after serving lumpy cheesecake bars to my book club. The texture was… unfortunate.
Try a chocolate crust by substituting crushed chocolate wafers for graham crackers. My dad discovered this combo during NHL playoffs last spring while stress-eating his way through overtime.
Make mini versions using a muffin tin—perfect for potlucks where you’re not sure how many people will show up.
Storage & Food Safety
Store your strawberry cheesecake bars covered in the refrigerator for up to 4 days. The creamy texture holds beautifully, and honestly, they taste even better the next day.
If you’re meal-prepping or have leftovers (lucky you!), wrap individual portions in plastic wrap. When reheating isn’t needed since these are served chilled, but if you prefer them slightly warmed, 10 seconds in the microwave works wonders.
Always keep dairy-based desserts below 40°F to maintain food safety standards.
Nutrition & Serving Ideas
Per serving (1 of 12 bars):
- Calories: 285
- Fat: 18g
- Carbohydrates: 26g
- Protein: 6g
- Sugar: 22g
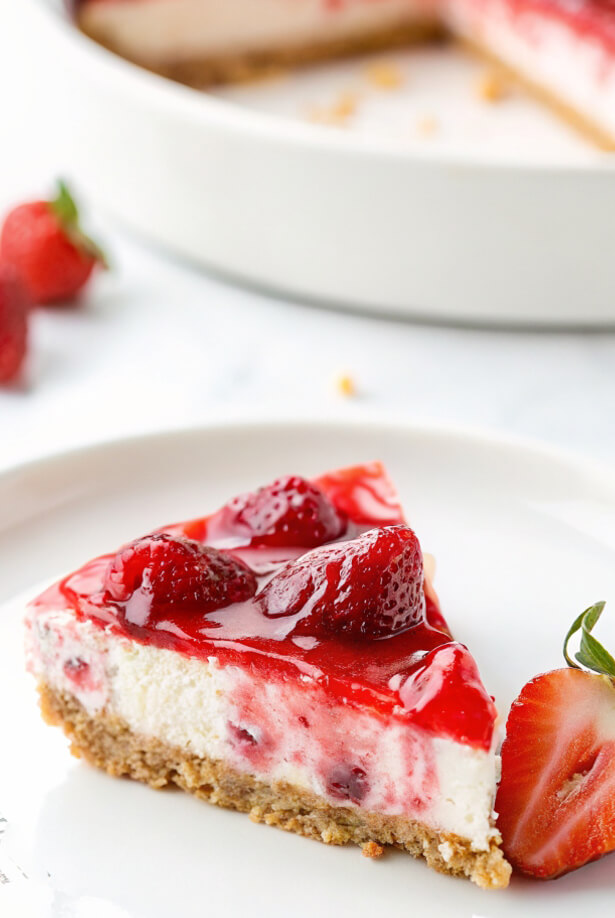
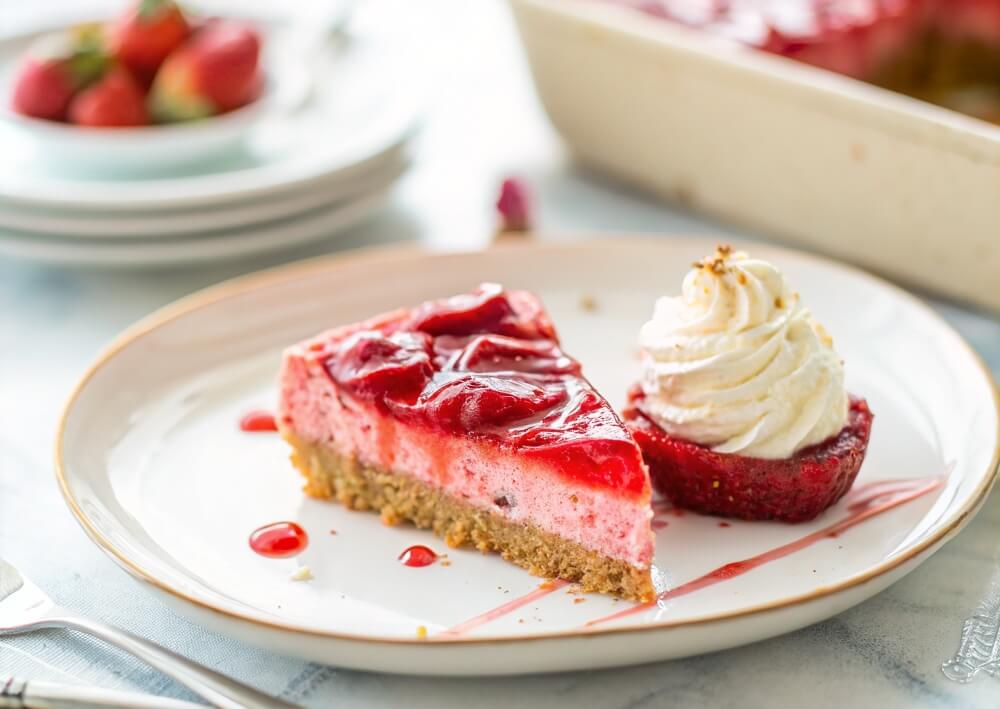
These strawberry cheesecake bars pair beautifully with a steaming cup of Tim Hortons coffee or your favorite morning brew. For special occasions, serve alongside fresh berries and a dollop of whipped cream.
The tangy-sweet balance makes them perfect for brunch spreads, baby showers, or when you need something that looks fancy but won’t leave you exhausted.
Frequently Asked Questions
Can I use frozen strawberries instead of fresh?
Absolutely! Thaw them completely and drain excess liquid first. The bars will be just as delicious, though the topping might be slightly softer than with fresh berries.
How do I know when the cheesecake layer is done?
Look for a slight jiggle in the center—about the size of a quarter. The edges should look set and slightly puffed. Boom! That’s your cue.
What’s the best way to get clean cuts?
Use a sharp knife dipped in warm water between each cut. Wipe the blade clean with a damp towel after each slice for professional-looking edges.
Sarah McKenzie has been perfecting comfort food recipes in her Halifax kitchen for over 15 years, sharing her love of Maritime hospitality one dish at a time.