Sandwich Crust Garlic Rolls You Won’t Believe Came From the Trash Pile
by Jessica | March 13, 2026 2:50 am
The scraps your kids reject, turned into something everyone fights over. Yes, really.
So I smashed some garlic into that butter, rolled up those crusts, and shoved them in the oven.
Honestly? I expected them to be fine. Maybe a little sad. Something you eat standing over the sink because they’re technically food.
They were not sad. They were incredibly good. Crispy on the outside, soft and garlicky in the middle, with this toasty, slightly caramelized edge that I cannot fully explain given that they came from sandwich leftovers. My husband ate six of them before dinner was even on the table and then acted like he wasn’t hungry. I mean. Come on.
I’ve made these at least a dozen times now, and I’ve burned exactly one batch — that was the time I put them in the oven and then got distracted helping my daughter with a school project that turned into an hour-long argument about the size of Jupiter. The rolls were charcoal. Jupiter is very large, for the record. But even that batch smelled incredible on the way out, which tells you something about how much garlic butter can cover for you.
Contents
Why This Actually Works
“Most zero-waste recipes taste noble but a little grim. These taste like something you’d serve at a dinner party.”
What You’ll Need
| Ingredient | Amount | Notes |
|---|---|---|
| Sandwich bread crusts | However many you’ve got (8–12 is a good batch) | Any sandwich bread works — white, wheat, sourdough, that vaguely healthy multigrain your family tolerates. Stale is totally fine, actually preferred. |
| Butter, softened or melted | A few tablespoons — 3 or 4 | Unsalted so you can control the salt yourself. That said, I’ve used salted butter a hundred times and it’s fine. |
| Garlic | 2–3 cloves, grated or minced really fine | Fresh is best here. Garlic powder works in a pinch — use about half a teaspoon — but it’s not quite the same. Don’t use jarred garlic. I’ll know. |
| Olive oil | A small drizzle | Optional, but mixing a little into the butter helps it spread easier and adds a nice flavor. Whatever you have on the counter. |
| Fresh parsley (or herb of choice) | A small handful, roughly chopped | Parsley is classic. Chives are great. Dried Italian seasoning works fine if your fresh herbs have given up on life, which mine often have. |
| Salt | A pinch or two | Flaky salt on top at the end is genuinely worth it if you have it. Regular kosher salt is totally fine. |
| Parmesan, finely grated | A small handful — maybe 2–3 tablespoons | Optional but highly recommended. Adds a salty, nutty crust on the outside that takes these from “good” to “why do I keep eating these.” Pre-grated from the green can technically works. |
| Red pepper flakes | Just a pinch | Totally optional. Skip if kids are eating. Add a generous pinch if they’re not. |
How to Make Them
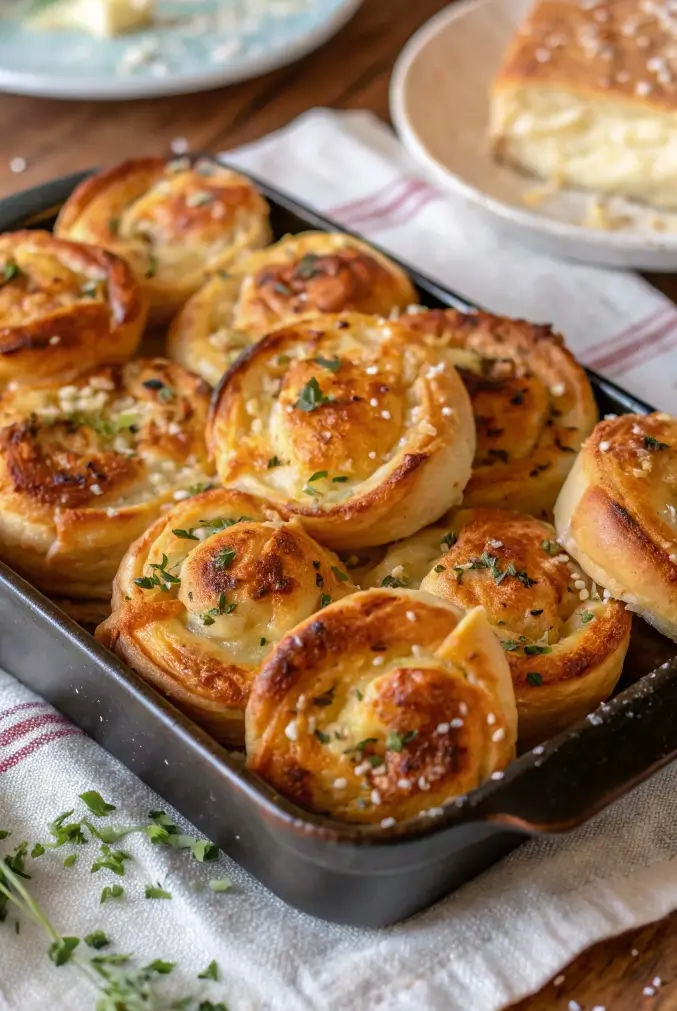
Fresh out of the oven, before they disappear
Alt text: A pulled-apart sandwich crust garlic roll photographed on a white ceramic plate, showing the swirled interior layers, golden baked crust, and flecks of bright green parsley, with a small bowl of marinara dipping sauce in the background.
Tips & Storage
- Day-old bread actually works better than fresh — it’s less prone to cracking when you roll it and holds its shape more reliably in the oven.
- Collect crusts over a few days by keeping them in a zip-lock bag in the fridge or freezer. They’ll keep for a week in the fridge, a month or more in the freezer.
- If your crusts are really stiff and dry, press them flat with your hand before buttering. Slightly warmed in the microwave for ten seconds also helps them stay flexible.
- These are great as a soup dipper, a snack alongside a salad, or a side with pasta. They also go very well with a bowl of marinara for dipping, which feels fancier than it is.
- Want to mix up the flavor? Try smoked paprika and cheddar instead of parmesan. Or cinnamon sugar butter for a sweet version. The method is the same either way.
- For a softer result, cover loosely with foil for the first eight minutes then uncover for the last few. For crispier rolls, leave them uncovered the whole time.
- Leftovers keep in an airtight container at room temperature for a day, or in the fridge for two to three days. Reheat in the oven or air fryer for a few minutes — the microwave makes them a bit soft and sad, though they’ll still get eaten.
Nutrition Info Per roll, approximate — based on standard white sandwich bread & 3 tbsp butter for 10 rolls
These numbers will vary depending on your bread brand, how much butter you actually use (be honest), and whether you added parmesan. Consider these a rough ballpark.
| Nutrient | Per Roll (approx.) | % Daily Value* |
|---|---|---|
| Calories | ~85 kcal | — |
| Total Fat | ~5g | ~6% |
| Saturated Fat | ~3g | ~15% |
| Cholesterol | ~12mg | ~4% |
| Sodium | ~120mg | ~5% |
| Total Carbohydrates | ~9g | ~3% |
| Dietary Fiber | ~0.5g | ~2% |
| Total Sugars | ~1g | — |
| Protein | ~2g | ~4% |
| Vitamin A | ~80 IU | ~2% |
*Based on a 2,000 calorie daily diet. Values calculated without optional parmesan.
Source URL: https://ladysuniverse.com/sandwich-crust-garlic-rolls-you-wont-believe-came-from-the-trash-pile/