Contents
- 1 3-Ingredient Cherry Dessert That Basically Makes Itself
- 1.1
- 1.2 What Is a Dump Cake — and Why It Actually Works
- 1.3
- 1.4 Why You’ll Love This Recipe
- 1.5
- 1.6 The 3 Ingredients — and What to Know About Each One
- 1.7 Equipment You’ll Need
- 1.8
- 1.9 How to Make 3-Ingredient Cherry Dessert — Step by Step
- 1.10 Expert Tips for the Best Results
- 1.11 Common Mistakes to Avoid
- 1.12 Variations Worth Trying
- 1.13 Make-Ahead Instructions
- 1.14 Storage Instructions
- 1.15 Reheating Instructions
- 1.16 Freezing Instructions
- 1.17 Serving Suggestions
- 1.18 Frequently Asked Questions
- 1.18.1 What exactly is a dump cake?
- 1.18.2 Should I use melted or sliced butter?
- 1.18.3 What’s the best cake mix flavor for cherry dump cake?
- 1.18.4 Can I make this in a slow cooker?
- 1.18.5 Why does my dump cake have dry floury patches?
- 1.18.6 Can I use fresh cherries instead of canned pie filling?
- 1.18.7 How do I know when it’s done?
- 1.18.8 Can I freeze cherry dump cake?
- 1.18.9 Can I double this recipe?
- 1.18.10 What’s the difference between dump cake and cobbler?
- 1.19 Nutrition Information (Per Serving, Approximate)
- 1.20 Final Thoughts
3-Ingredient Cherry Dessert That Basically Makes Itself
There are recipes I make when I want to impress people. And then there are recipes I make when I want to actually enjoy the party I’m hosting. This cherry dessert falls firmly in the second category — and somehow it always gets more compliments than the things I spent hours on.
Three ingredients. One pan. Five minutes of actual work. Then the oven does everything else while you go do something more interesting.
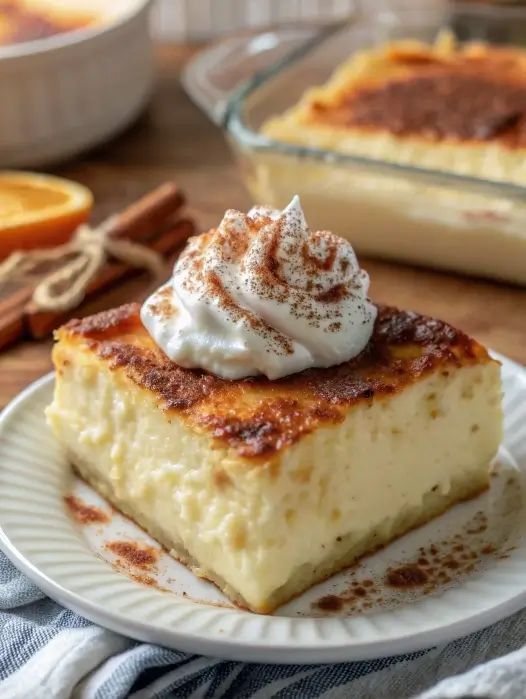
What comes out is golden and crispy on top, with deep ruby cherry filling bubbling up through the cracks, smelling like a bakery. It’s somewhere between a cobbler and a cake, with that slightly crumbly, buttery topping that just pulls people back for seconds. Every. Single. Time.
I’ve made this for potlucks, family dinners, holidays, and Tuesday nights when someone at the table said “I kind of want something sweet.” It never fails. It doesn’t require a single skill beyond being able to open a can.
What Is a Dump Cake — and Why It Actually Works
If you’ve never made a dump cake before, the name does most of the explaining. You dump the ingredients into a baking dish in layers — no mixing, no bowls, no prep beyond opening a few things. The oven heat does the work of combining everything as it bakes.
The science is simple: the cherry filling creates a thick, jammy bottom layer that bubbles up through the dry cake mix as it bakes. The butter melts down through the cake mix, coating the dry particles and crisping them into something that’s part crust, part crumble. Where the butter and fruit juices meet, you get these beautiful golden pockets of flavor that are hard to describe but very easy to eat.
It looks too simple to be good. That’s the trick. It is both of those things at once.
Why You’ll Love This Recipe
- 5 minutes of prep. Genuinely. Open two cans, pour them in, sprinkle the cake mix, pour the butter. Done.
- No mixing bowls. You make this directly in the baking dish. One thing to wash.
- Feeds a crowd. A 9×13 pan serves 10–12 people comfortably. Perfect for potlucks and gatherings.
- Endlessly adaptable. Swap the cherry filling for peach, blueberry, apple, or strawberry. Change the cake mix. Add pecans. Make it your own.
- Budget-friendly. Two cans of pie filling, a box of cake mix, and butter. You’re looking at $6–8 total.
- Tastes like you tried. Nobody needs to know.
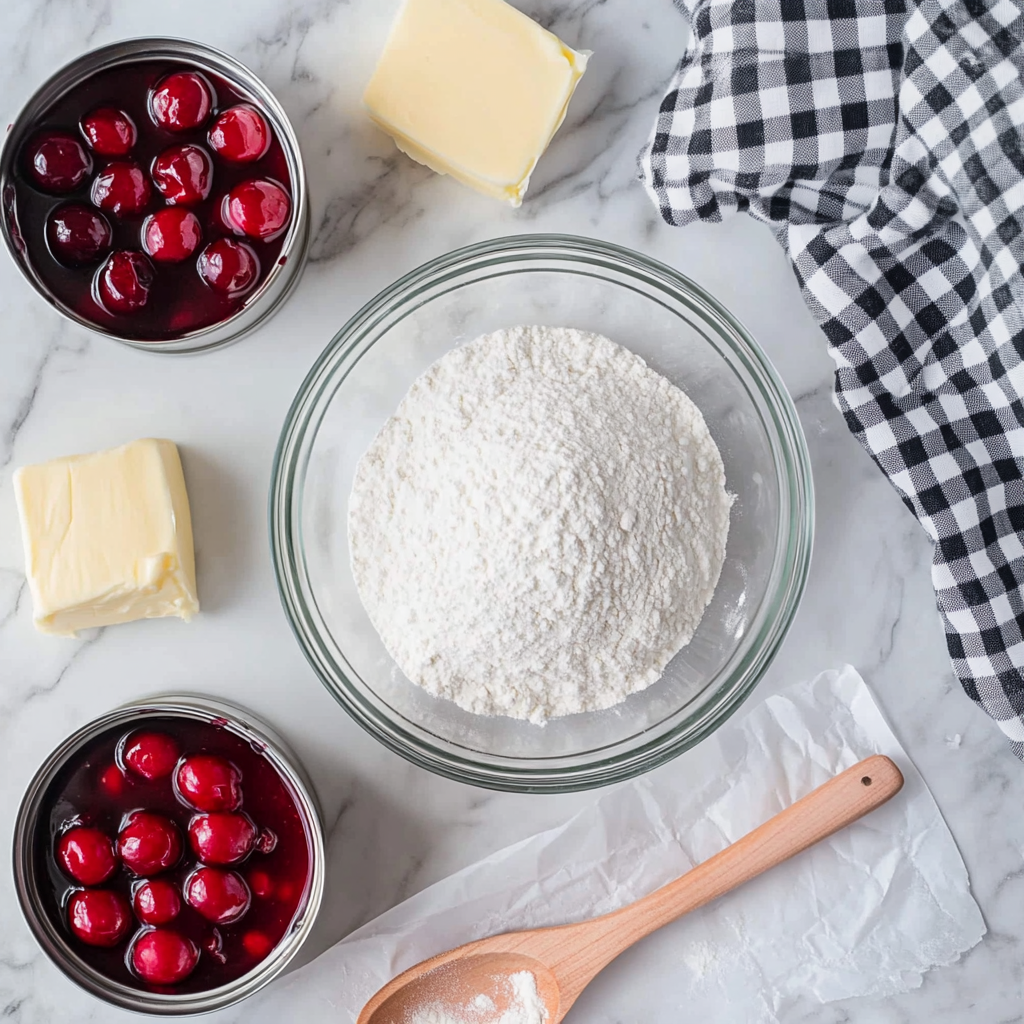
The 3 Ingredients — and What to Know About Each One
| Ingredient | Amount | Notes & Best Options |
|---|---|---|
| Cherry pie filling | 2 cans (21 oz each) | Standard grocery store cans work perfectly. Lucky Leaf and Comstock are the most reliable brands. Two cans are necessary — one doesn’t give enough fruit coverage for a 9×13 pan. If you only have 15 oz cans, use three. Do not substitute fresh cherries without prep (see FAQ). |
| Yellow or white cake mix | 1 box (15.25 oz) | Yellow cake mix is the classic — it bakes up rich and buttery with a golden-brown top that complements cherry beautifully. White cake mix gives a lighter, more neutral flavor. Chocolate cake mix with cherry filling is a whole other level of good (Black Forest vibes). Butter pecan cake mix adds a nutty warmth. Any standard 15.25 oz box works — store brand is perfectly fine. |
| Butter, melted | ¾ cup (1½ sticks) | Melted butter is better than sliced butter — it distributes more evenly and gives you a crispier, more consistent golden top. Unsalted preferred so you control salt level, but salted works and adds a subtle sweet-salty contrast that some people love. Do not substitute oil — it won’t produce the same flavor or texture. |
Equipment You’ll Need
- 9×13-inch baking dish: Glass or ceramic. Glass allows you to see the sides bubbling, which helps judge doneness. Metal pans work but can over-brown the bottom.
- Cooking spray: A light coating prevents sticking and makes serving much easier.
- Spatula: For spreading the cherry filling evenly.
- Small bowl or measuring cup: For melting and pouring the butter evenly.
How to Make 3-Ingredient Cherry Dessert — Step by Step
Step 1: Preheat and Prep the Pan
Preheat your oven to 350°F. Spray a 9×13-inch baking dish with cooking spray, making sure to coat the sides as well as the bottom.
Why this matters: The cherry filling bubbles up during baking and can stick to uncoated sides, making serving a mess. Don’t skip the spray.
Step 2: Layer the Cherry Filling
Open both cans of cherry pie filling and pour them into the prepared baking dish. Spread evenly with a spatula so the cherry layer is consistent across the whole pan.
Visual cue: The filling should cover the entire bottom of the dish in a deep ruby layer with no bare spots showing through.
Optional at this stage: Add ½ teaspoon almond extract stirred into the cherries — it deepens the cherry flavor dramatically and makes the whole thing smell incredible while baking. This is optional but highly recommended.
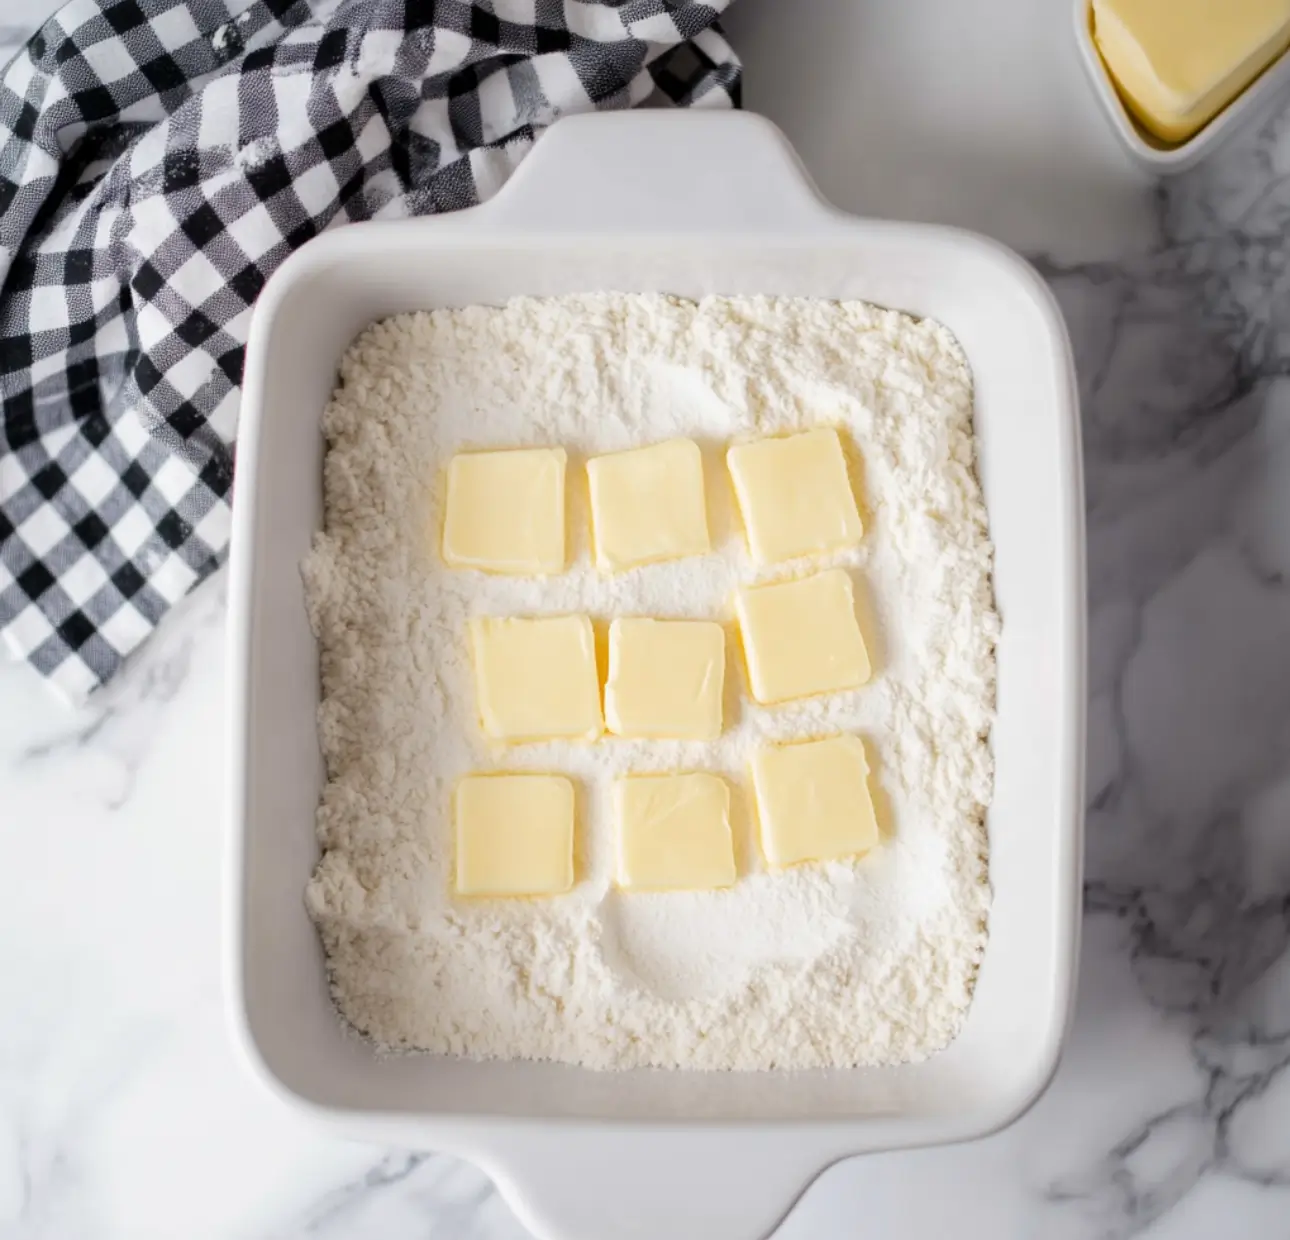
Step 3: Add the Cake Mix
Open the cake mix box and sprinkle the dry mix evenly over the cherry layer. Gently shake the pan side to side to level it out.
Do not stir. Do not mix. The layers need to stay separate to work properly. The dry cake mix on top is what forms that golden crumbly topping — if you mix it into the cherries you’ll get something mushy and dense.
Visual cue: A flat, even layer of pale dry cake mix covering the cherries completely.
Step 4: Pour the Butter
Melt the butter and pour it slowly and evenly over the entire surface of the cake mix. Pour in a back-and-forth motion to cover as much ground as possible. Tilt the pan gently to help the butter spread into any uncovered areas.
Troubleshooting: If you see dry white patches of cake mix after pouring all the butter, drizzle 1–2 tablespoons of water over those spots or add a tiny bit of extra melted butter. Dry patches mean that area won’t brown and will stay powdery — fix it now before baking.
Visual cue: Most of the cake mix surface should look darkened and saturated with butter. A few small dry patches are okay — they’ll usually get picked up by steam during baking.
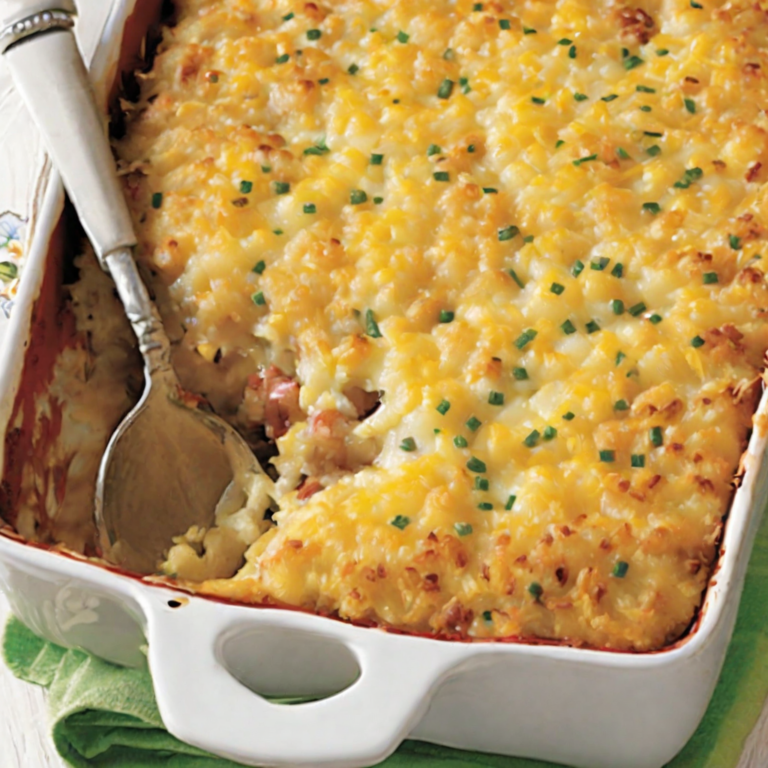
Step 5: Bake
Place the dish in the center rack of your preheated oven. Bake for 42–48 minutes, checking at 42 minutes.
Visual cues for doneness: The top should be a deep, rich golden brown — not pale tan, not light gold, but a genuine amber-brown color. The cherry filling should be visibly bubbling around the edges and through any cracks in the topping. If the edges are bubbling but the center top looks pale, give it 5 more minutes.
Troubleshooting: If the top is browning too fast but the center isn’t done yet, loosely tent with foil for the last 10 minutes.
Step 6: Rest and Serve
Remove from the oven and let rest for at least 10 minutes before serving. The filling thickens slightly as it cools and becomes easier to scoop.
Serve warm with a scoop of vanilla ice cream or a generous spoonful of whipped cream. The cold cream melting into the warm cherry topping is the whole point.
Expert Tips for the Best Results
Don’t stir. Ever. This is the most common mistake. The magic is in the layers. Stirring turns a beautiful cobbler-cake hybrid into a dense, gummy mess.
Use melted, not sliced, butter. Sliced butter in thin pats across the top is the traditional method, but it leaves gaps where butter doesn’t reach. Melted butter poured slowly gives you better, more even coverage — and a crispier top. The difference is noticeable.
Cover the whole surface. Every bit of cake mix needs butter contact to brown properly. Take your time pouring and tilt the pan to help it spread. Those dry white spots become raw flour patches in the finished dessert.
Check at 42 minutes, not 45. Ovens vary. The difference between perfectly golden and over-browned is a few minutes. Start checking early.
Let it rest. 10 minutes minimum. Hot from the oven, the cherry filling runs everywhere when you scoop it. A short rest lets everything set just enough to serve neatly.
Almond extract is the secret weapon. Half a teaspoon stirred into the cherry filling before adding the cake mix makes this taste like it came from a bakery. Don’t add more — a little goes a very long way.
Common Mistakes to Avoid
One can of cherry filling. It’s not enough for a 9×13 pan. You’ll get a thin, dry layer that doesn’t bubble properly through the topping. Use two 21 oz cans, or three 15 oz cans.
Using oil instead of butter. Oil produces a greasy, flat-tasting topping without the golden color or flavor that butter creates. There’s no substitute here.
Pulling it out too early. A pale golden top means the interior is probably still doughy. The top needs to reach deep golden-brown before it’s done. Trust the color.
Skipping the cooking spray. The filling sticks. Every time. Don’t skip it.
Variations Worth Trying
Chocolate Cherry Dump Cake (Black Forest Style)
Swap yellow cake mix for chocolate cake mix. The combination of cherry filling and chocolate topping tastes exactly like a Black Forest cake with a fraction of the effort. Add a dollop of whipped cream and a few chocolate shavings when serving.
Cherry Pineapple Dump Cake
Spread one 20 oz can of crushed pineapple (with juice) on the bottom of the pan before adding the cherry filling. The pineapple adds acidity and tropical sweetness that balances the richness of the topping beautifully.
Cherry Pecan Dump Cake
Scatter ½ cup of chopped pecans over the cake mix before pouring the butter. They toast as the cake bakes and add a nutty crunch that contrasts perfectly with the soft cherry layer.
Almond Cherry Dump Cake
Stir ½ teaspoon almond extract into the cherry filling, and sprinkle ¼ cup sliced almonds over the cake mix before the butter. Almonds and cherries are one of the great flavor pairings — this version tastes distinctly elegant for something made with three ingredients.
Different Fruit Fillings
This works with almost any canned pie filling: peach, blueberry, strawberry, apple, mixed berry, or blackberry. Blueberry with lemon cake mix is particularly good. Apple with spice or butter pecan cake mix tastes like fall.
Slow Cooker Version
Layer the same way in your slow cooker. Cook on low for 2.5–3 hours with the lid slightly ajar to let steam escape. The top won’t crisp the same way as the oven version, but the cherry layer becomes thick and deeply jammy. Great for keeping warm at parties.
Make-Ahead Instructions
Assemble the dish completely — cherries, cake mix, butter — up to 4 hours before baking. Cover with plastic wrap and refrigerate. When ready, uncover and bake as directed, adding 5 extra minutes to account for the cold start. Do not assemble more than 4 hours ahead since the cake mix will start absorbing moisture from the cherries.
Storage Instructions
Cover the baking dish with plastic wrap or foil and refrigerate for up to 4 days. The topping softens in the refrigerator but is still very good eaten cold — several people who’ve made this report it’s even better the next morning as a breakfast situation (we’re not judging).
Reheating Instructions
Oven (best): Cover with foil and warm at 325°F for 15–20 minutes. Remove foil for the last 5 minutes to re-crisp the top.
Microwave (fast): Individual portions in 45-second bursts until warmed through. The topping will be soft but the cherry layer will be hot and saucy — still delicious under a scoop of ice cream.
Freezing Instructions
Let the baked dump cake cool completely. Cover tightly with plastic wrap and then foil. Freeze for up to 2 months. Thaw overnight in the refrigerator. Reheat covered at 325°F for 20–25 minutes, uncovering for the last 5–8 minutes to re-crisp the top. It won’t be quite as crispy as fresh, but it reheats remarkably well.
Serving Suggestions
- Vanilla ice cream: The classic pairing. Cold, creamy, and melts right into the warm cherry layer.
- Whipped cream: A generous cloud of fresh whipped cream or Cool Whip. Lighter than ice cream and easier for a crowd.
- Crème fraîche: For a slightly tangy, more grown-up contrast to the sweet cherries.
- Chopped toasted walnuts: Sprinkle over the top when serving for crunch.
- A dusting of powdered sugar: Simple and makes it look polished for company.
Frequently Asked Questions
What exactly is a dump cake?
A dump cake is a no-mix dessert where you layer fruit filling, dry cake mix, and butter directly in a baking dish and bake without stirring. The name comes from “dumping” the ingredients in. It bakes into something halfway between a cobbler and a cake — golden and crumbly on top, soft and jammy underneath. It’s been a staple of American home cooking since at least the 1980s and shows up constantly at church potlucks, family gatherings, and school bake sales for good reason.
Should I use melted or sliced butter?
Melted butter gives better results. Sliced butter in thin pats is the traditional method — it works, but it’s easier to leave gaps where butter doesn’t reach, and those gaps stay dry and floury. Pouring melted butter in a slow, even stream gives you more consistent coverage, a crispier overall top, and less chance of raw flour patches. If you prefer sliced butter, make sure to overlap the slices and cover the entire surface.
What’s the best cake mix flavor for cherry dump cake?
Yellow cake mix is the classic and most popular — it bakes up rich and golden with a buttery flavor that complements cherry filling well. White cake mix is lighter and more neutral. Chocolate cake mix with cherry filling is a revelation (essentially a lazy Black Forest cake). Butter pecan adds warmth, lemon adds brightness, and vanilla works just as well as yellow. Any standard 15.25 oz box from any brand produces good results.
Can I make this in a slow cooker?
Yes. Layer exactly the same way — cherries, cake mix, melted butter — in your slow cooker. Prop the lid slightly ajar with a wooden spoon or a folded paper towel to let steam escape, otherwise the topping gets too wet. Cook on low 2.5–3 hours or high 1.5–2 hours. The topping won’t be as crispy as the oven version, but the cherry layer is wonderfully thick and saucy. Good for parties where you want to keep it warm and serving-ready.
Why does my dump cake have dry floury patches?
Dry patches mean the butter didn’t reach those areas of the cake mix. Before baking, drizzle a little extra melted butter over the dry spots, or add a tablespoon of water to those areas. After baking, dry patches on top mean the same thing — the butter coverage wasn’t complete. Next time, pour the butter more slowly and tilt the pan to help it spread into corners.
Can I use fresh cherries instead of canned pie filling?
You can, but they need preparation. Pit about 4 cups of fresh sweet cherries and toss with ½ cup granulated sugar, 2 tablespoons cornstarch, and 1 tablespoon lemon juice. Let sit 20 minutes until the sugar draws out the juice and the mixture looks syrupy. Use in place of canned filling. The texture is slightly less consistent than canned but the fresh cherry flavor in summer is genuinely excellent.
How do I know when it’s done?
The top should be a deep, rich golden-brown — not pale, not light tan, but a genuine amber color. The cherry filling should be actively bubbling around the edges and peeking through any cracks in the topping. If the edges are bubbling but the center top looks pale, give it 5 more minutes uncovered. If the top is browning too fast, loosely tent with foil for the final 10 minutes.
Can I freeze cherry dump cake?
Yes — it freezes well. Cool completely, wrap tightly in plastic wrap then foil, and freeze up to 2 months. Thaw overnight in the refrigerator. Reheat covered at 325°F for 20–25 minutes, then uncover for 5–8 minutes to re-crisp the top. It won’t be identical to fresh, but it’s still very good.
Can I double this recipe?
Yes. Use two 9×13 pans or one large roasting pan (about 15×10 inches). Baking time stays roughly the same — check at 45 minutes. Make sure to double all three ingredients proportionally.
What’s the difference between dump cake and cobbler?
Cobbler traditionally has a biscuit or batter topping mixed from scratch and dropped over the fruit. Dump cake uses dry boxed cake mix as the topping — no mixing required. The result is similar in spirit (fruit underneath, something golden and baked on top) but the texture differs: cobbler topping is more biscuit-like and tender, while dump cake topping is crumblier and crisper where butter reached it. Both are delicious. Dump cake is considerably easier.
Nutrition Information (Per Serving, Approximate)
| Calories | ~285 kcal |
| Carbohydrates | ~48g |
| Fat | ~10g |
| Saturated Fat | ~6g |
| Protein | ~2g |
| Sugar | ~30g |
| Sodium | ~310mg |
Based on 12 servings using yellow cake mix, 2 cans cherry pie filling, and ¾ cup butter. Does not include ice cream or whipped cream topping.
Final Thoughts
This 3-ingredient cherry dessert is the recipe I point people to when they say they can’t bake. Because this isn’t really baking — it’s layering and waiting. The oven does everything that matters. What comes out is genuinely good: golden, buttery, bubbling with cherry flavor, and exactly the kind of thing people lean over and quietly ask for the recipe for.
Keep a box of cake mix and two cans of cherry filling in your pantry and you’re always 5 minutes away from dessert. That’s the kind of recipe that earns a permanent spot in the rotation.
3-Ingredient Cherry Dessert (Cherry Dump Cake)
Golden, bubbly, and impossibly easy. Just dump, pour, and bake.
Prep: 5 min | Cook: 45 min | Total: 50 min | Serves: 12
Cuisine: American | Course: Dessert | Calories: ~285 per serving
Ingredients
- 2 cans (21 oz each) cherry pie filling
- 1 box yellow or white cake mix (15.25 oz)
- ¾ cup (1½ sticks) unsalted butter, melted
- Optional: ½ tsp almond extract, ½ cup chopped pecans
Instructions
- Preheat oven to 350°F. Spray a 9×13-inch baking dish with cooking spray.
- Pour both cans of cherry pie filling into the dish. Spread evenly. (Stir in almond extract here if using.)
- Sprinkle dry cake mix evenly over the cherry layer. Gently shake pan to distribute. Do not stir.
- Pour melted butter slowly and evenly over the cake mix, covering as much surface as possible. Tilt pan to spread.
- Bake 42–48 minutes until the top is deep golden brown and cherry filling is bubbling around the edges.
- Rest 10 minutes before serving. Serve warm with vanilla ice cream or whipped cream.
Notes
- Do not stir the layers — keeping them separate is what creates the golden crumbly topping.
- Melted butter gives more even coverage than sliced butter.
- Cover any dry patches with extra butter or a splash of water before baking.
- Almond extract (½ tsp stirred into cherries) is optional but makes a noticeable difference.
- Chocolate cake mix with cherry filling = lazy Black Forest cake. Highly recommended.
- Slow cooker: same layers, low 2.5–3 hours, lid slightly ajar.

Leave a Reply