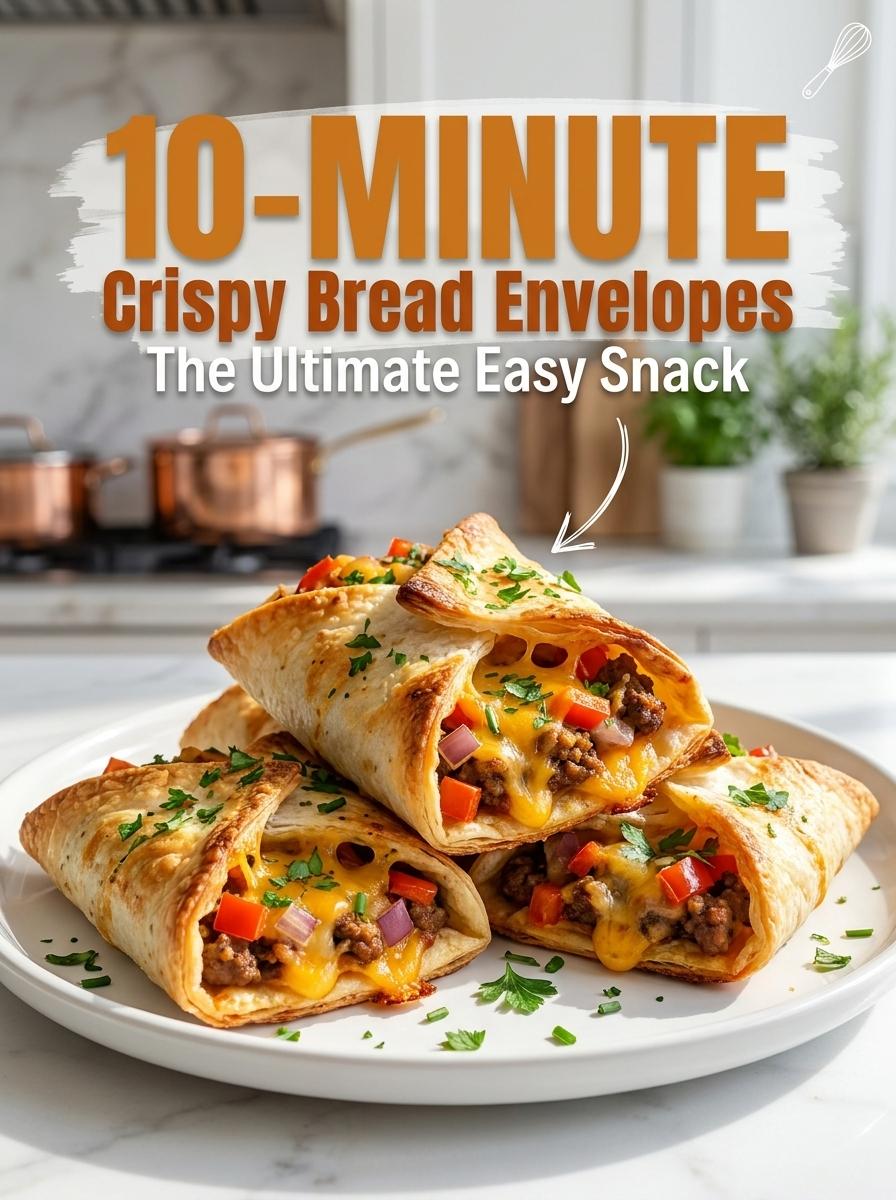
I Made These Crispy Bread Envelopes With Leftover Mince and My Family Thought I’d Ordered Them From Somewhere

Advertisements
Contents
I had leftover mince from Tuesday sitting in the fridge and genuinely no idea what to do with it. My kids were hovering around the kitchen making increasingly annoying noises about being hungry and I needed something that wasn’t just reheated leftovers served in a bowl with a guilty conscience.
I’d seen something like this online maybe a month before — bread ‘Toast’ folded over a filling and baked — and hadn’t saved it because I figured I’d remember it. I did not fully remember it. So I just started doing things and hoped it would come together.
The bread ‘Toast’ came out crunchy in a way I wasn’t expecting at all. Not dry-crunchy like toast, actually crunchy, like something with structure to it. The cheese inside had melted into the mince and everything was hot and the outside was this deep golden color from the butter glaze and my daughter picked one up, looked at it for a second, and asked if I’d bought them somewhere.
Advertisements
I made them with the bread on the counter and the mince from two days ago. That’s it.
We’ve had them probably eight times since that afternoon. My kids ask for them by name now, which still catches me off guard a little.
✏️ NEW “WHY THIS WORKS” SECTION
The rolling pin step is the one that seems unnecessary until you skip it and then you understand why it’s there. Unflattened bread cracks when you try to fold it and the shape falls apart in the oven. Flattened bread bends, holds, and bakes up with this crunch that regular sandwich bread just doesn’t do on its own. Fifteen seconds with a rolling pin per slice. Worth it every time.
The butter and parsley glaze I almost skipped the first time because I was in a hurry and it seemed fussy. It is not fussy. It’s what makes these look golden and finished instead of pale and homemade in the bad way. I brush it on everything including the sides and it’s the reason people assume these took more effort than they did.
The toothpick gets questions sometimes. Just one, through the center, and it holds the envelope shape while everything bakes. Without it the bread unfolds in the oven and you end up with an open-faced situation that’s fine but not the same thing at all.
Advertisements
Advertisements
What you need
(makes about 8 envelopes — enough for a snack for 4 or a light lunch)
- 8 slices white sandwich bread <Toast>, crusts removed
- 1 cup cooked minced meat (beef, lamb, chicken — whatever you have)
- ½ cup cooked potato cubes, small dice
- ¼ cup red bell pepper, finely diced
- ¼ cup yellow bell pepper, finely diced
- ¼ cup red onion, finely diced
- ¾ cup cheddar or gouda, grated (cheddar has more flavor, gouda melts smoother)
- 3 tbsp butter, melted
- 1 tsp dried parsley
- Wooden toothpicks
How to make them
Step 1 — Flatten the bread
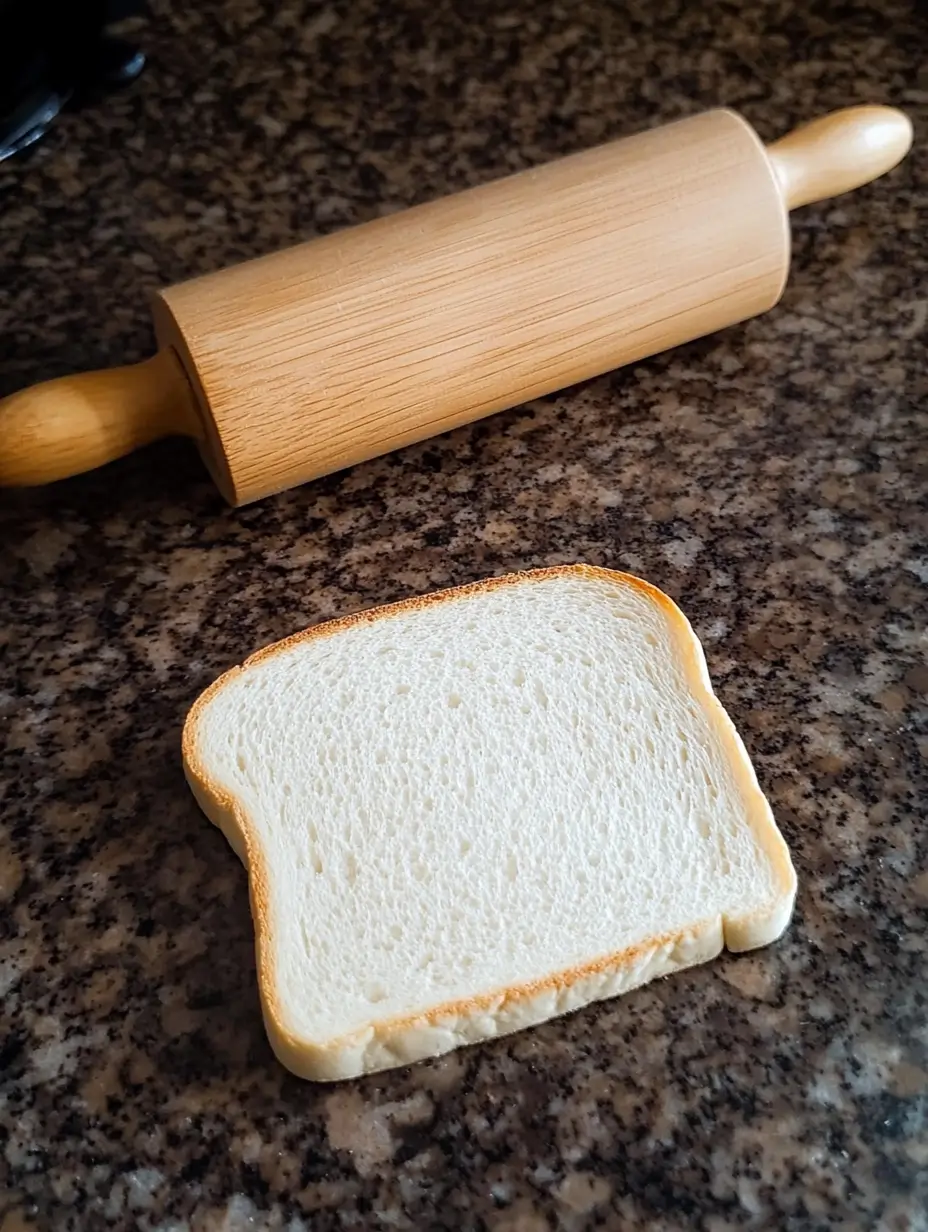
Remove the crusts from each slice and use a rolling pin to flatten it out — roll firmly until the bread ‘Toast’ is thin and almost feels like a soft dough. It should be flexible enough to fold without tearing. This takes maybe 15 seconds per slice and makes a real difference to how the finished envelope holds together and how it crisps.
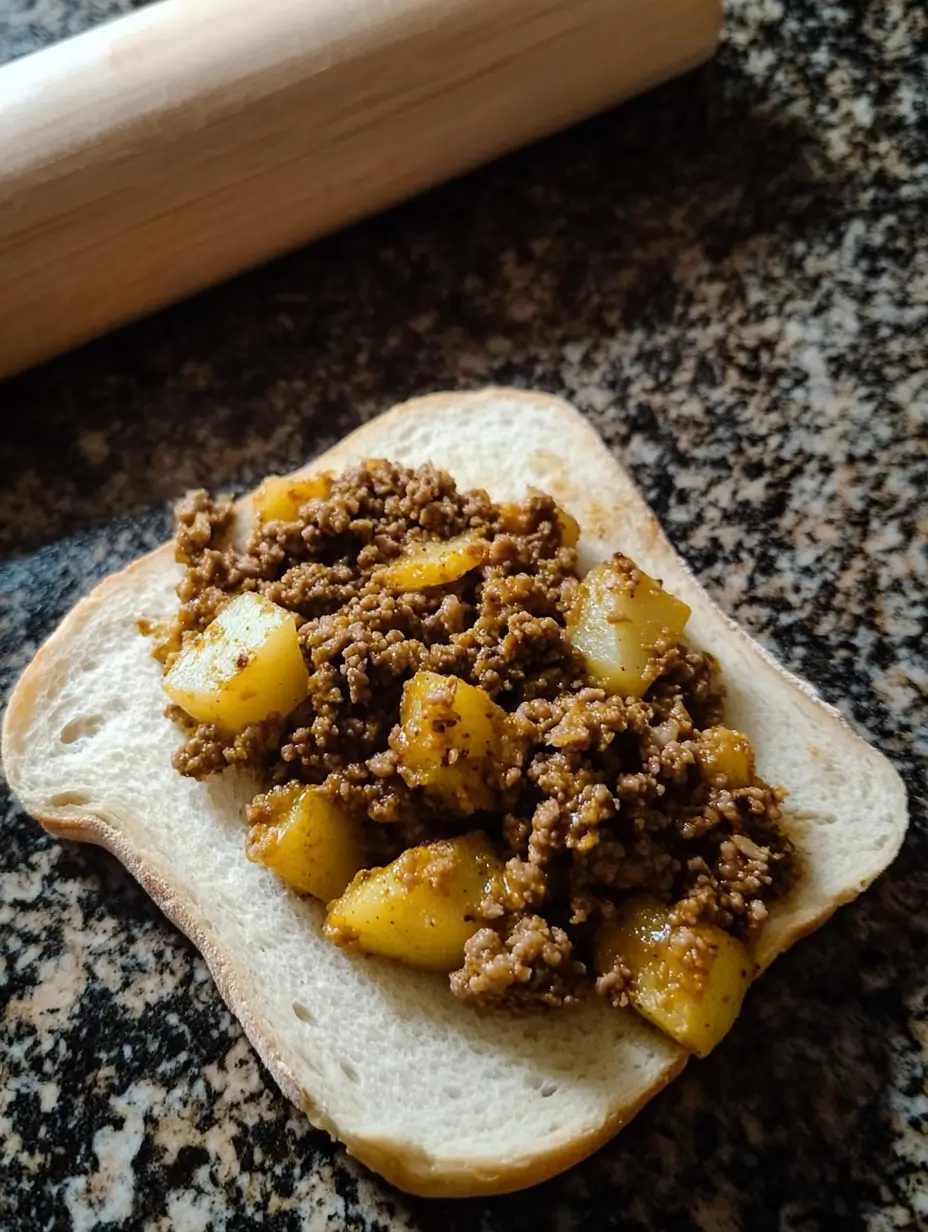
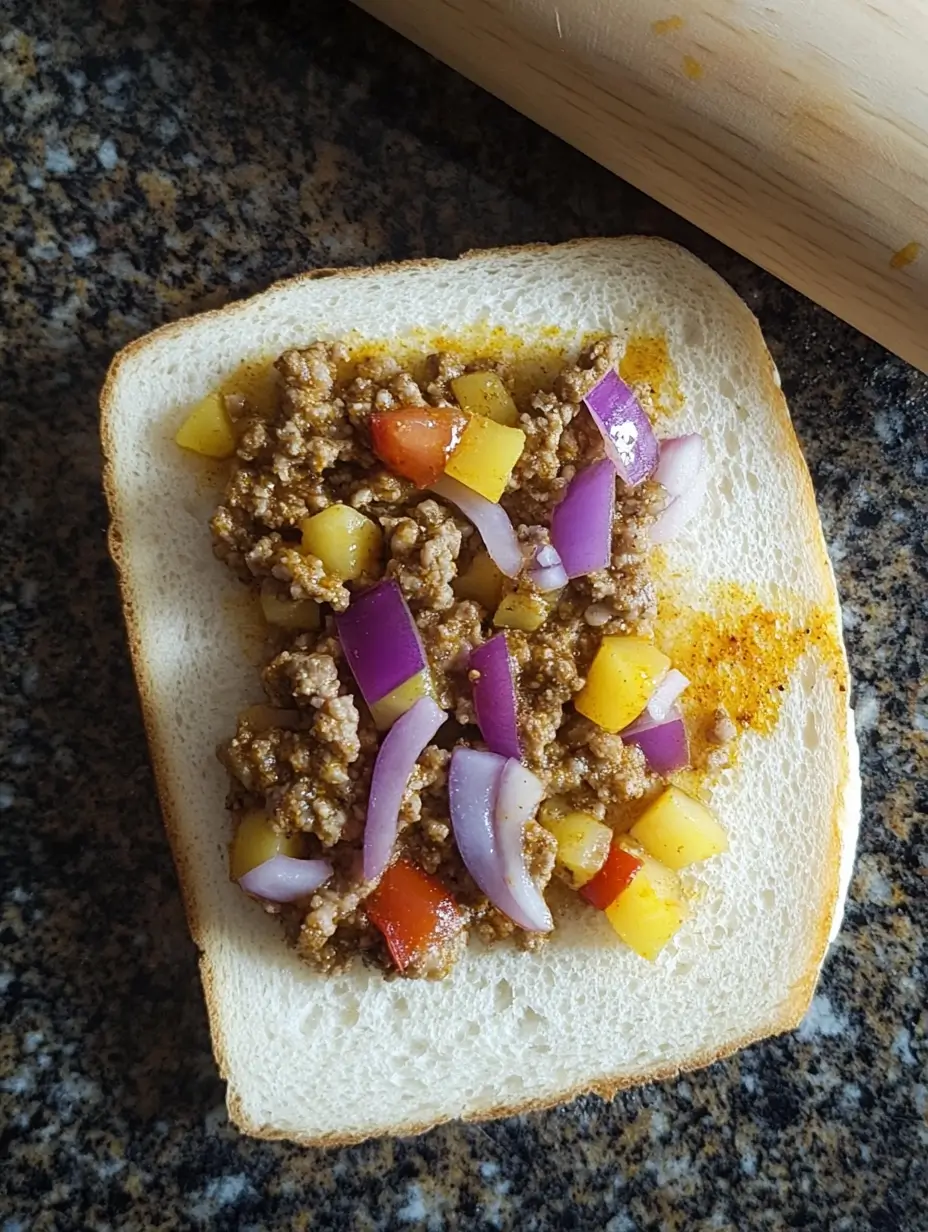
Step 2 — Build the filling
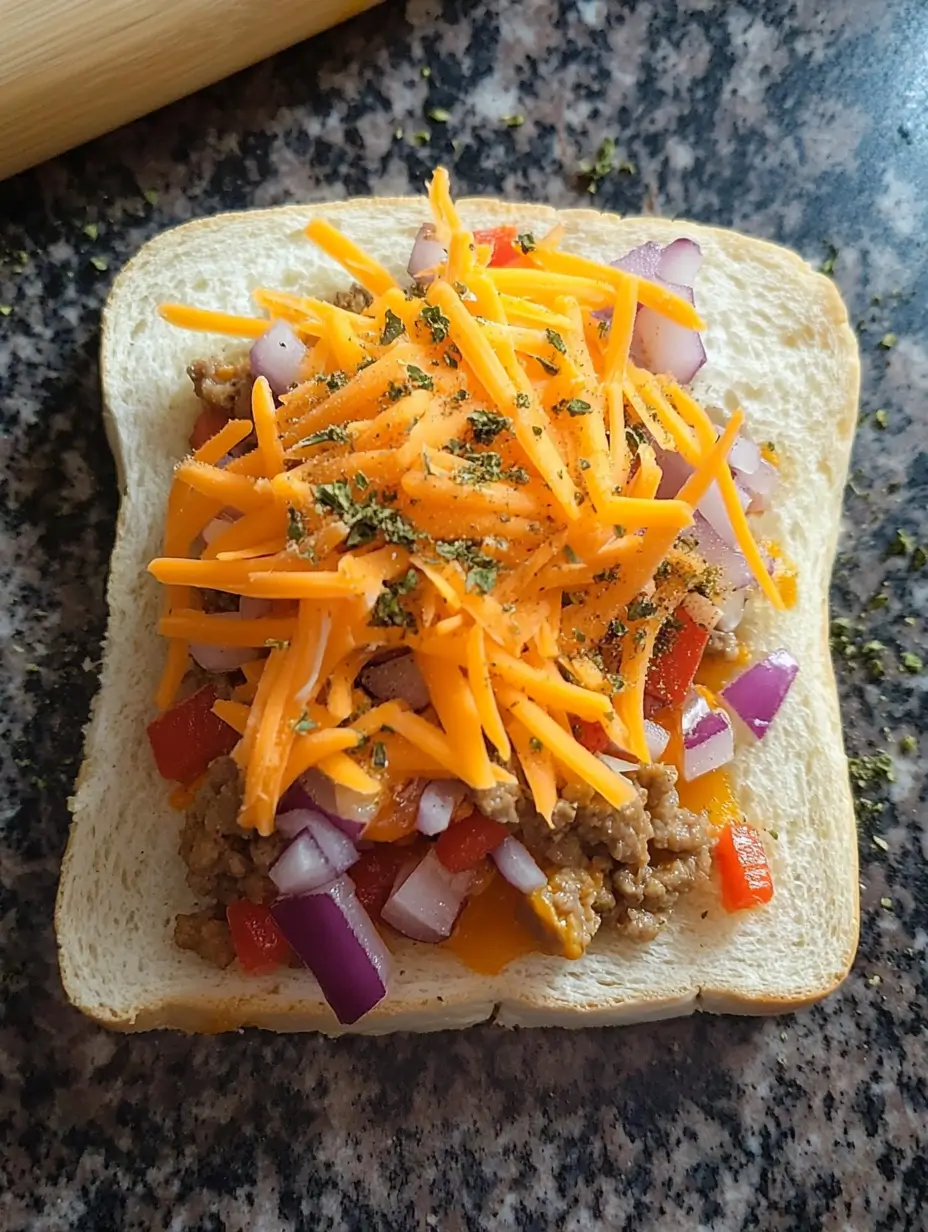
Add cheese
Mix your cooked mince with the diced potato, bell peppers and onion. You want the filling to be fairly dry — if it’s wet or saucy it’ll make the bread soggy before it has a chance to crisp. If your mince has a lot of liquid, cook it down a little before you use it here.
Step 3 — Load and fold
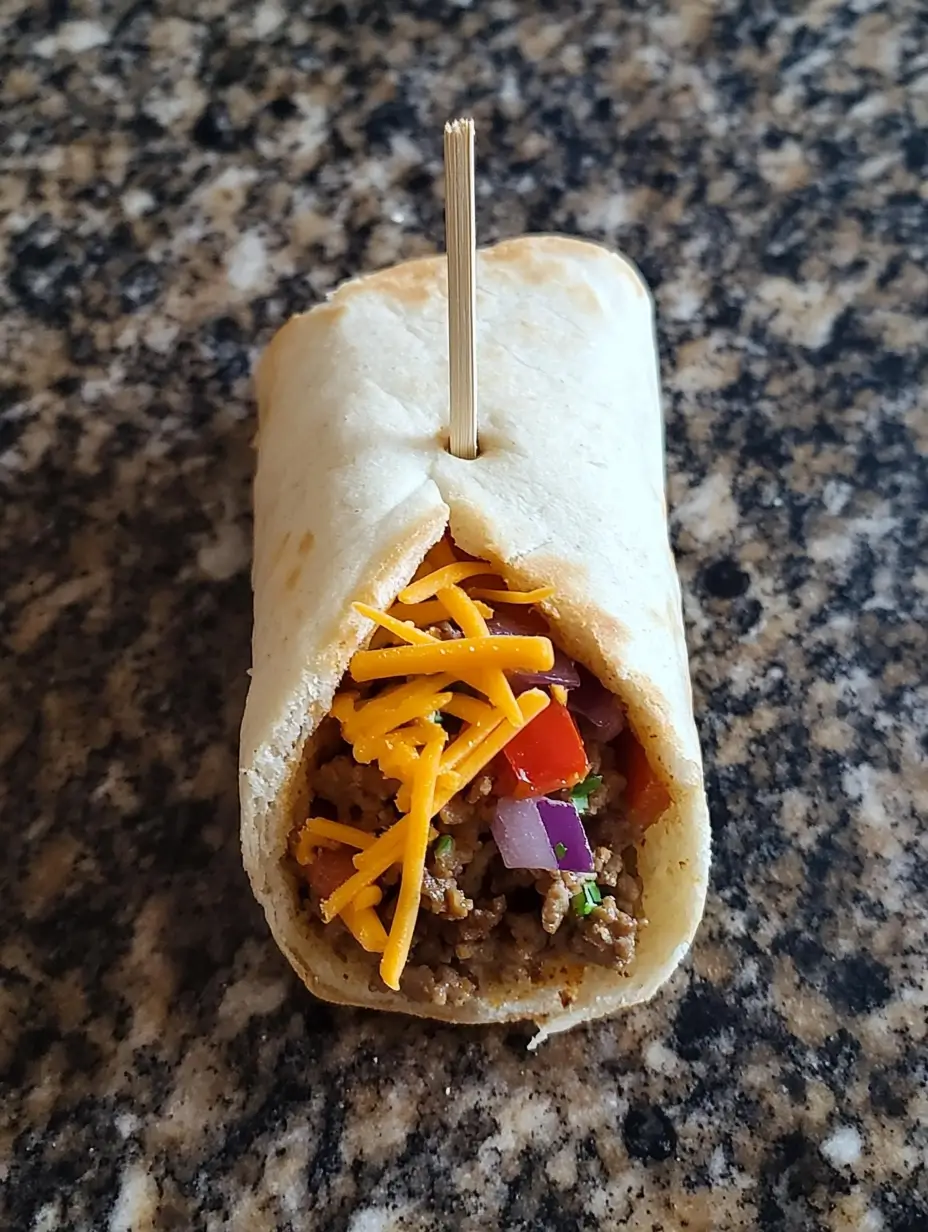
Lay a flattened slice of bread on your work surface. Spoon a heaped tablespoon of filling diagonally across the center — not too much or it won’t close. Add a pinch of grated cheese on top of the filling. Bring two opposite corners up to meet in the middle, overlapping them slightly, and push a toothpick through the center to hold it. That’s your envelope.
Repeat with the rest.
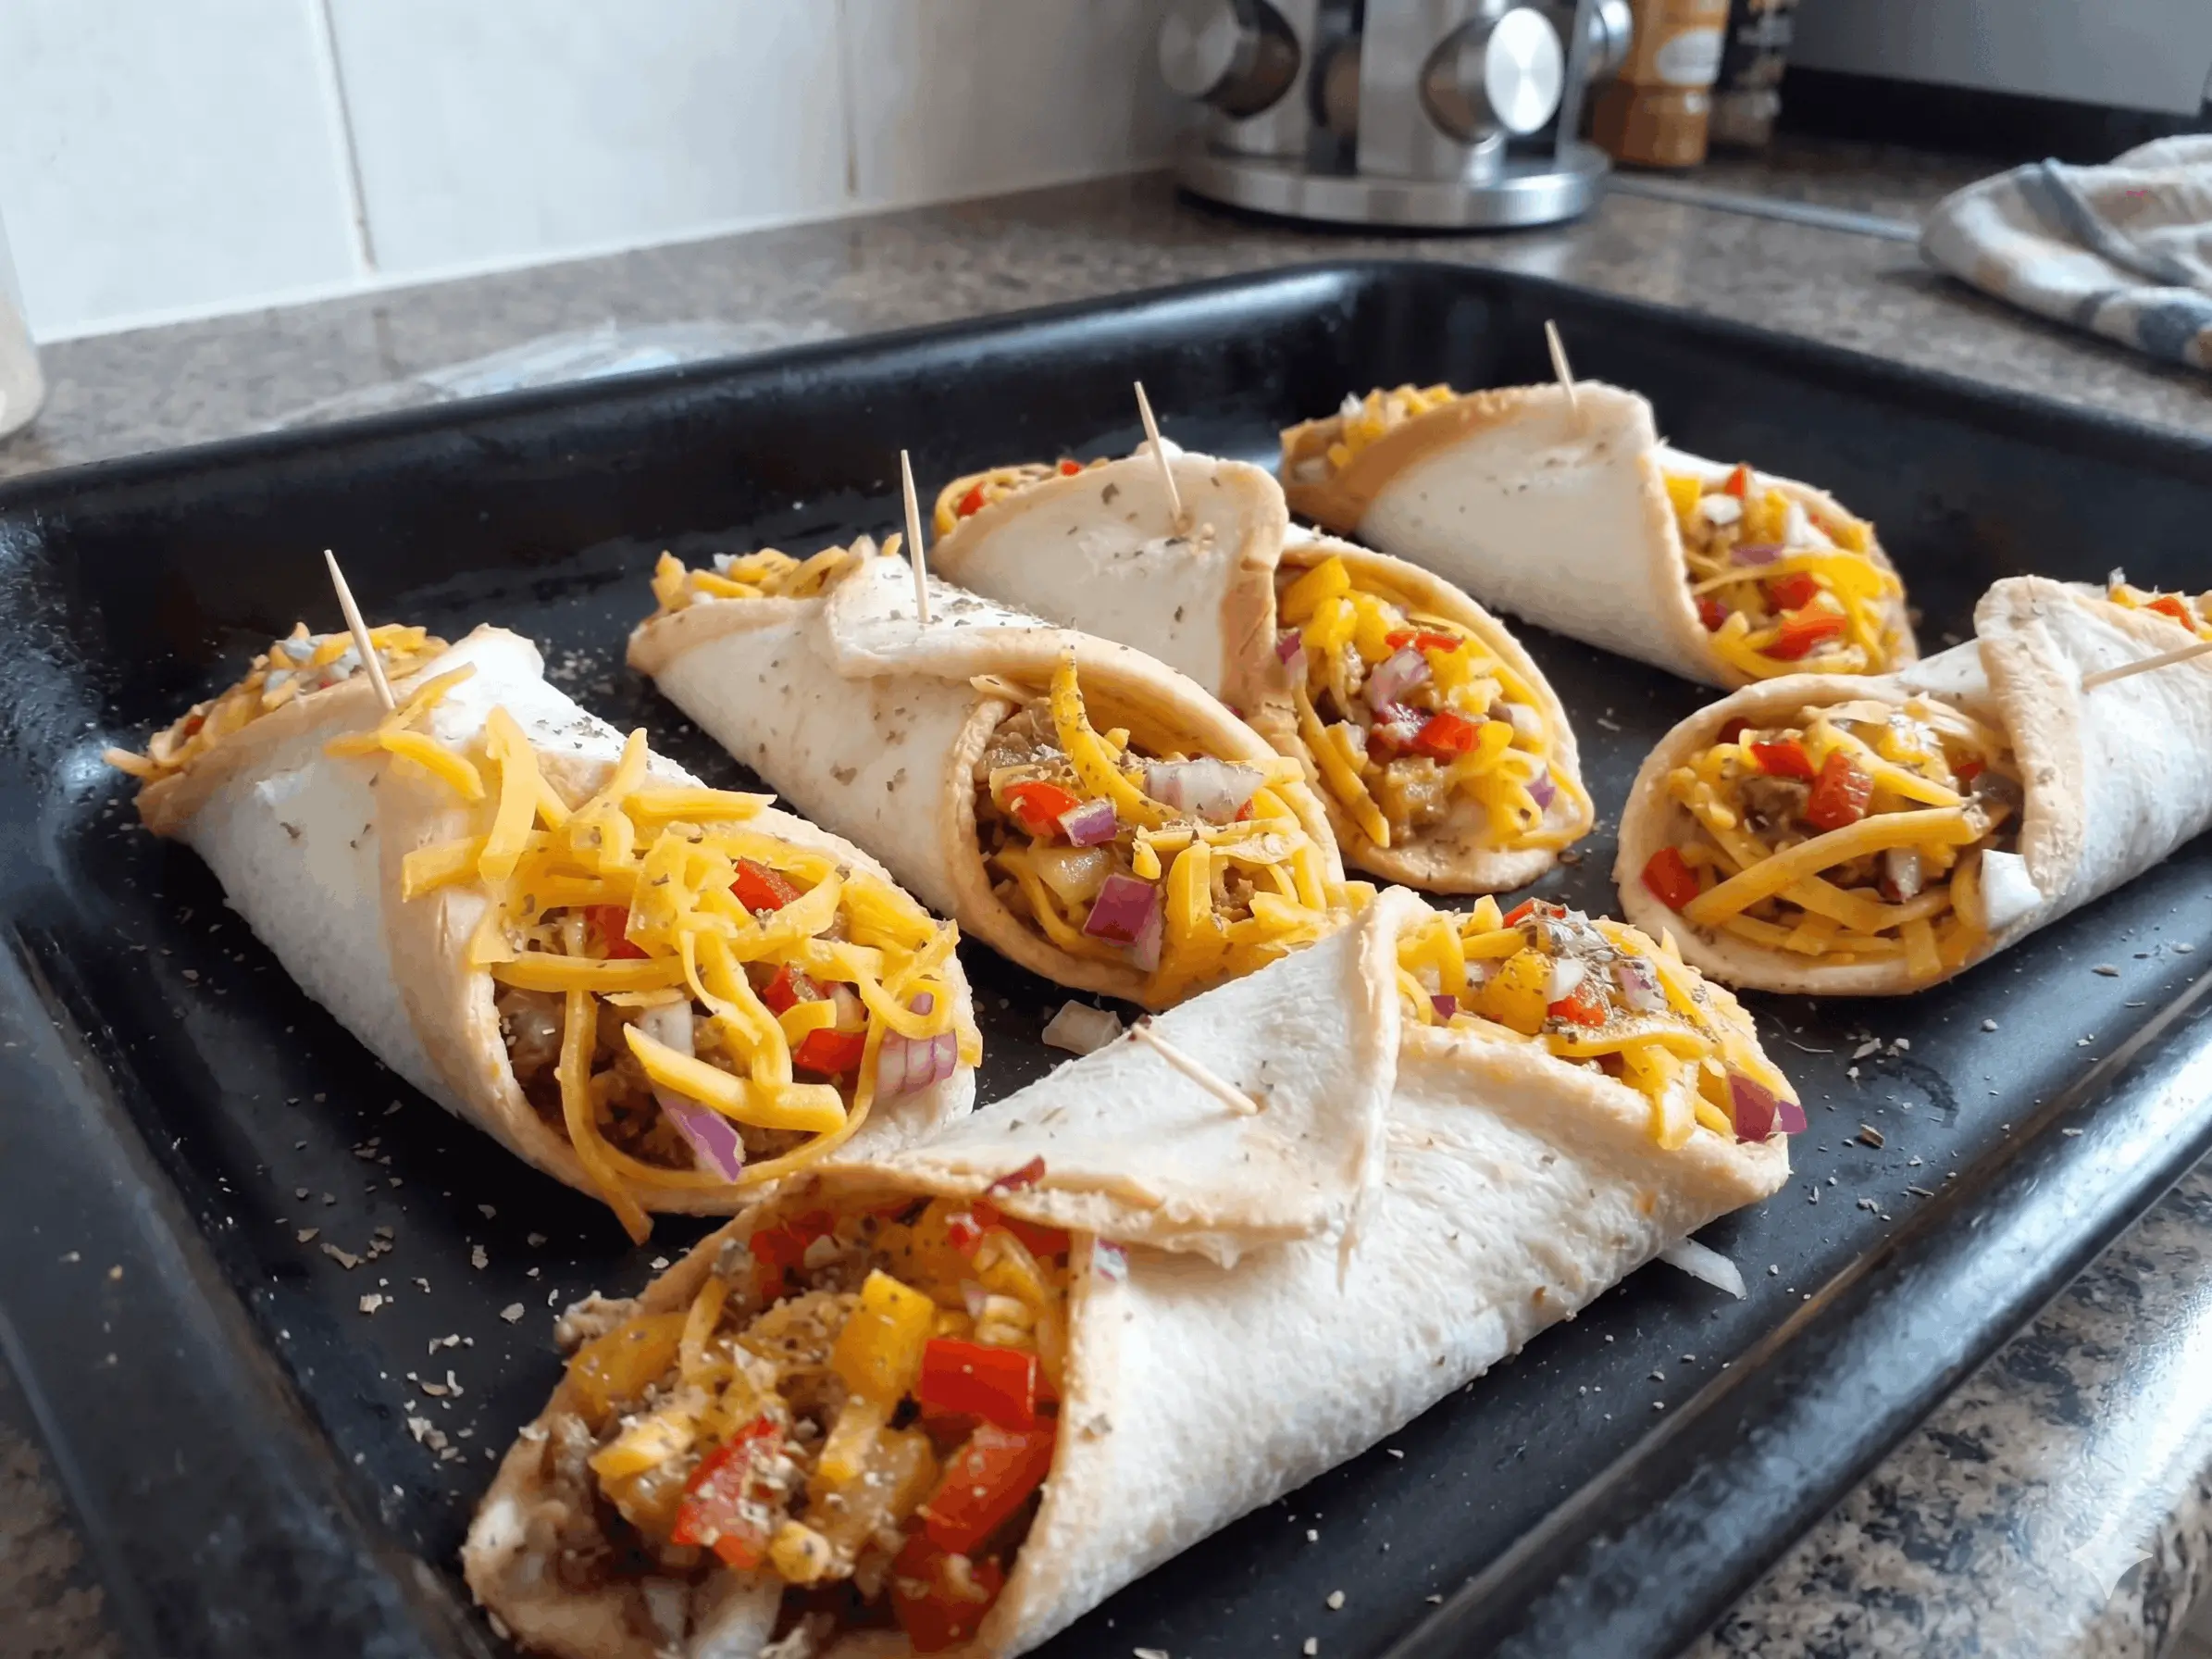
Step 4 — Glaze
Mix the melted butter with the dried parsley and brush it generously over the tops and sides of each envelope. Every part that gets butter is going to turn golden. Every part that doesn’t will look pale. So be generous and get the sides too.
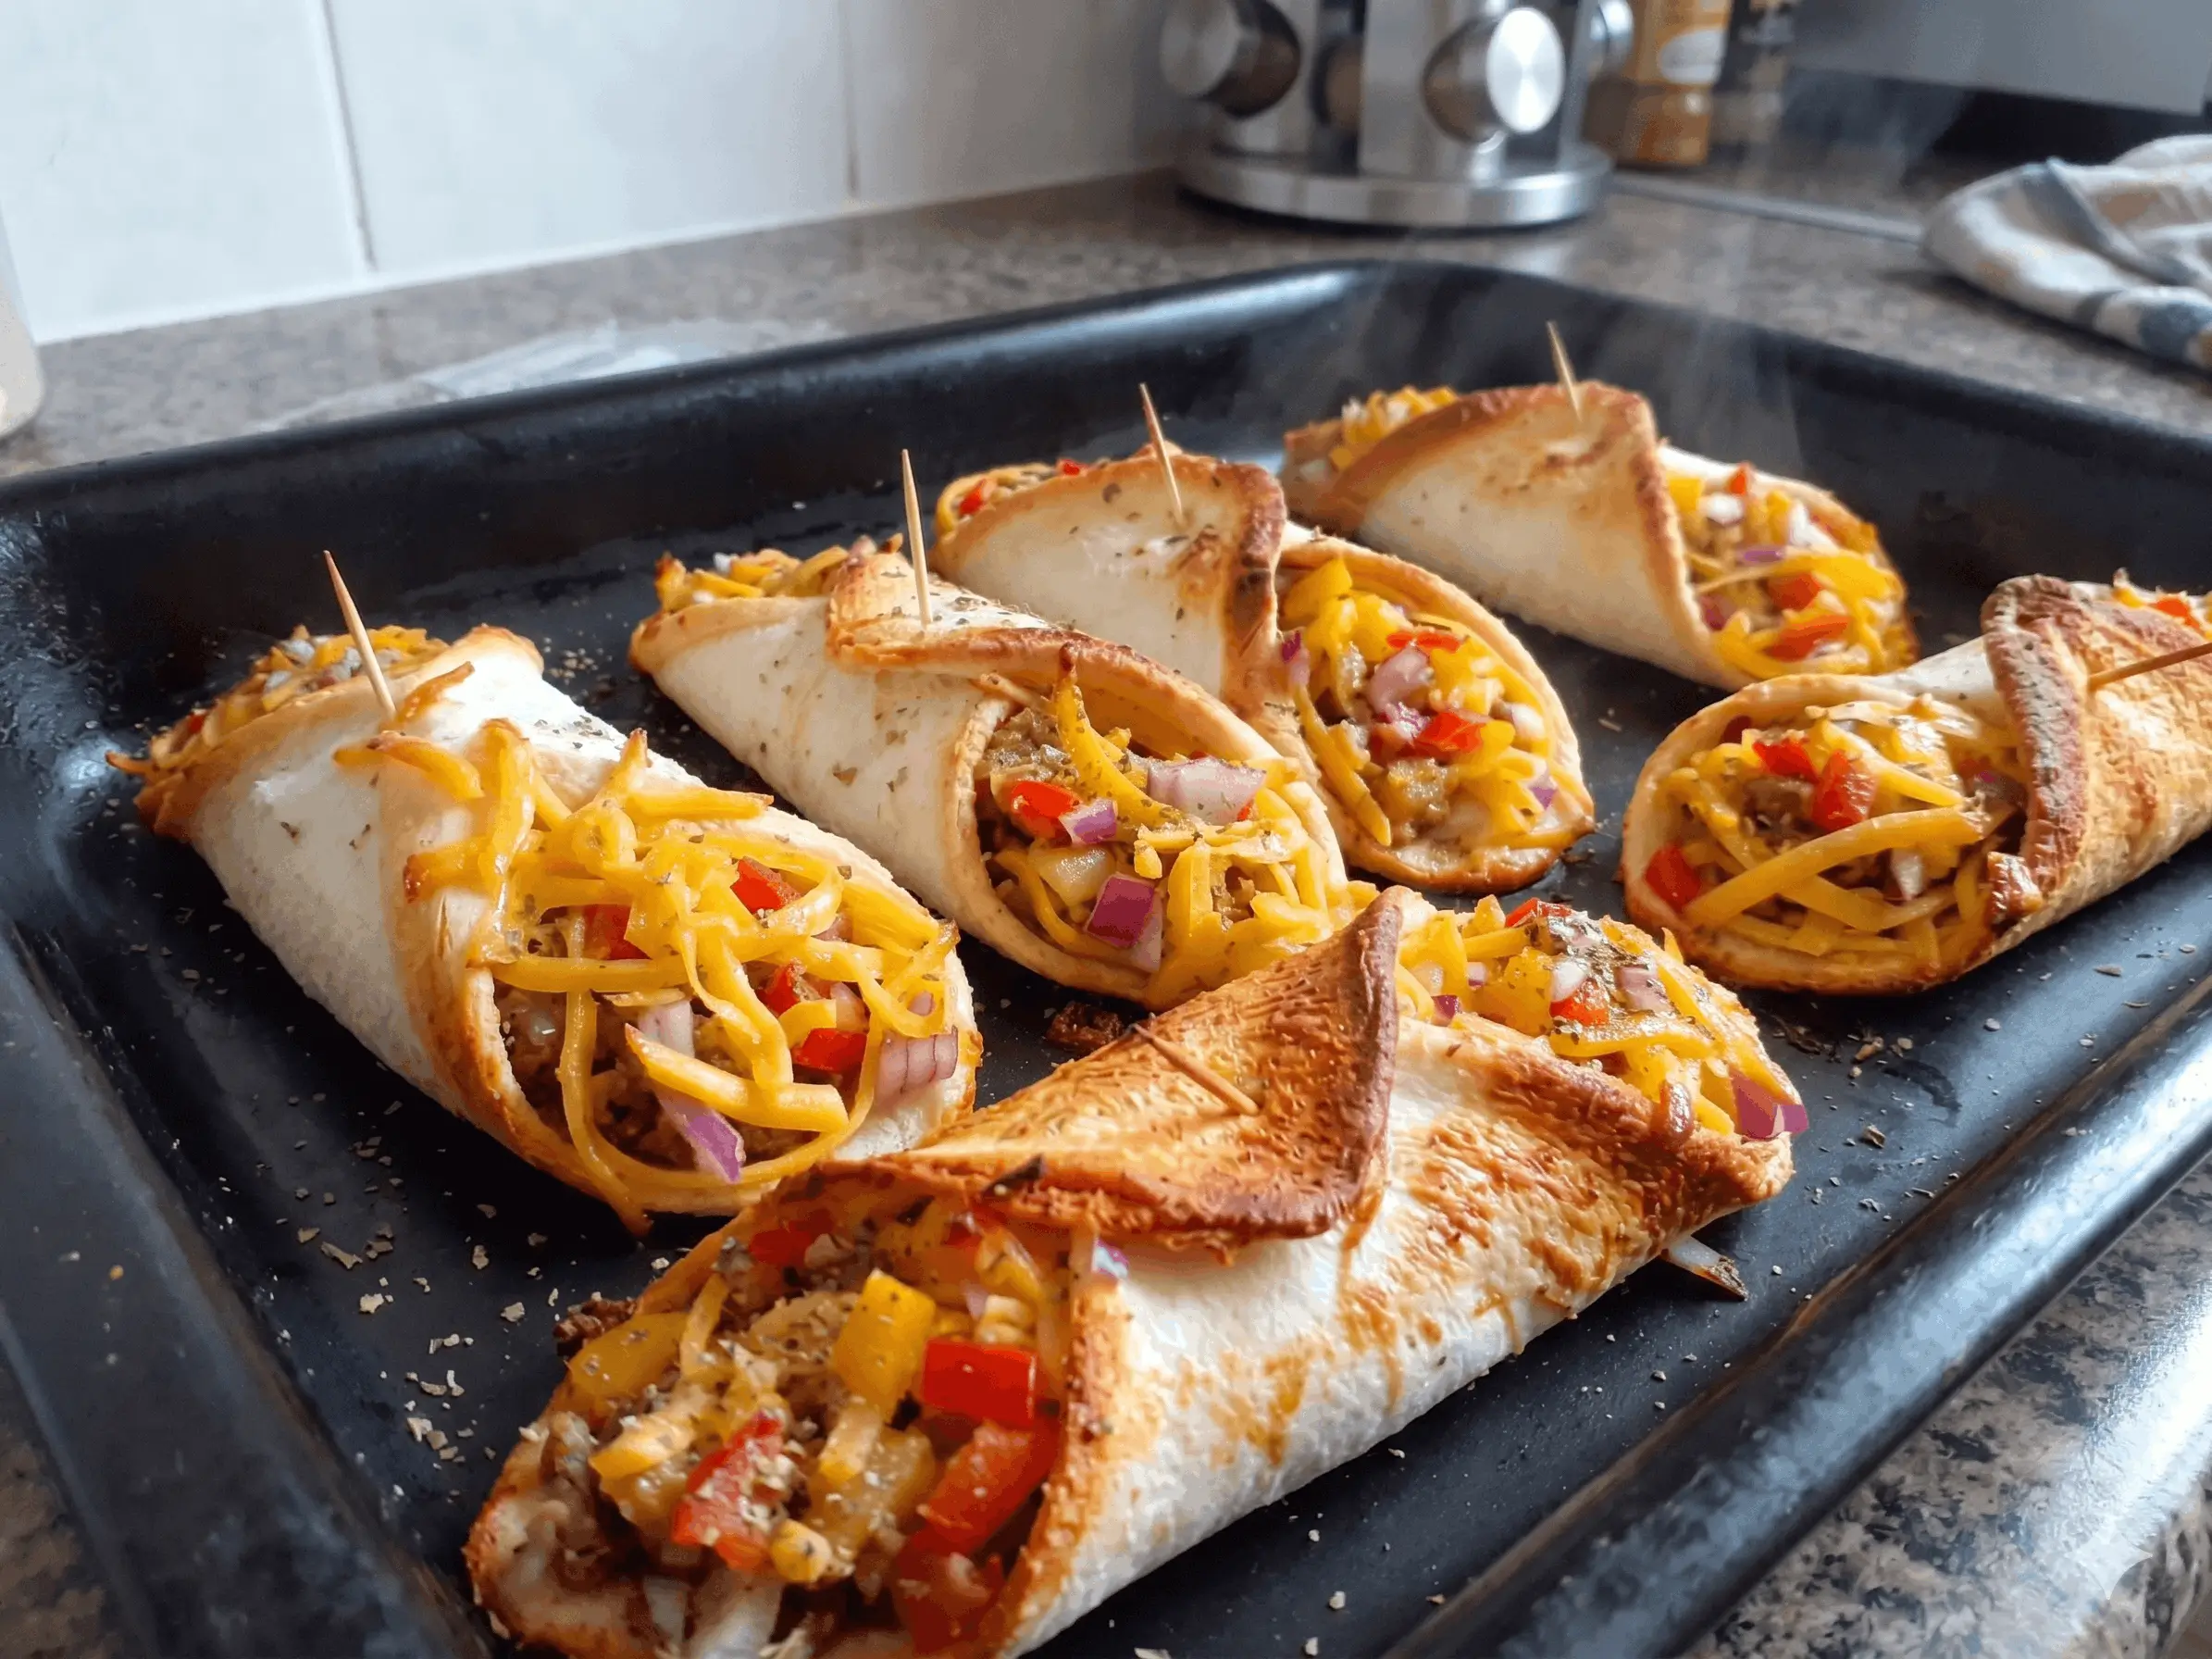
Step 5 — Bake
Place on a lined baking tray and bake at 180°C (350°F) for 8 to 10 minutes until the edges are deep golden and crispy and the cheese has fully melted inside. They go fast in the oven so check them at 8 minutes the first time you make these.
Serve immediately. These are a hot-out-of-the-oven situation — they’re still good after they cool down but the crunch is best in the first few minutes.
Things worth knowing
The filling is completely flexible. I’ve made these with leftover taco meat, with a simple cheese and sautéed mushroom filling, with rotisserie chicken pulled apart and mixed with a little cream cheese. Pretty much any savory filling that isn’t too wet works. This is a great way to use up whatever small amounts of cooked protein you have hanging around.
Keep the filling amount conservative the first time. It’s tempting to overfill but too much filling makes them hard to close and they pop open in the oven. A heaped tablespoon is plenty — you’ll be surprised how much filling that actually ends up feeling like once the bread is closed around it.
For extra crunch, you can flip them carefully at the 6-minute mark and let the bottom get golden too. I do this about half the time depending on how much attention I feel like paying.
These work in an air fryer at 180°C for 5 to 6 minutes if you prefer. They get slightly more evenly crunchy in the air fryer, actually. I’ve started making them that way more often.
The dipping sauce situation: a simple garlic yogurt dip alongside these is genuinely a good idea. Plain yogurt, a small clove of garlic grated in, a little lemon juice, some salt. Takes two minutes and makes them feel like a proper snack instead of just a quick thing you threw together. Sriracha mayo also works if your crowd likes a little heat.
Scaling up
If you’re making these for more people they’re easy to scale — just work in batches and keep the first batch warm in a low oven while you do the rest. They hold their crunch reasonably well for about 15 minutes in a 100°C oven, which gives you enough time to get multiple batches done before serving.
I made 24 of these for a casual get-together once and they were the first thing gone. People kept asking what they were and I kept saying “just bread” which nobody believed.
The honest summary
It’s sandwich bread and leftover mince. That’s the starting point. And somehow what comes out of the oven looks and tastes like something that took real skill and planning.
I keep coming back to recipes like this — the ones where the effort and the result feel genuinely mismatched in your favor. 15 minutes, one pan, ingredients that were already there. Everyone thinks you did something impressive.
Make these the next time you have leftover mince and don’t know what to do with it. Or make the mince specifically for this because once you’ve had them you’ll want to make them on purpose.
bread envelope snack
Got leftover mince and a loaf of bread? These crispy stuffed bread envelopes take 15 minutes and taste like something from a proper snack shop. Easiest appetizer I've ever made.
Ingredients
Method
Step 1 — Flatten the bread
- Remove the crusts from each slice and use a rolling pin to flatten it out — roll firmly until the bread is thin and almost feels like a soft dough. It should be flexible enough to fold without tearing. This takes maybe 15 seconds per slice and makes a real difference to how the finished envelope holds together and how it crisps.
Step 2 — Build the filling
- Mix your cooked mince with the diced potato, bell peppers and onion. You want the filling to be fairly dry — if it's wet or saucy it'll make the bread soggy before it has a chance to crisp. If your mince has a lot of liquid, cook it down a little before you use it here.
Step 3 — Load and fold
- Lay a flattened slice of bread on your work surface. Spoon a heaped tablespoon of filling diagonally across the center — not too much or it won't close. Add a pinch of grated cheese on top of the filling. Bring two opposite corners up to meet in the middle, overlapping them slightly, and push a toothpick through the center to hold it. That's your envelope.Repeat with the rest.
Step 4 — Glaze
- Mix the melted butter with the dried parsley and brush it generously over the tops and sides of each envelope. Every part that gets butter is going to turn golden. Every part that doesn't will look pale. So be generous and get the sides too.
Step 5 — Bake
- Place on a lined baking tray and bake at 180°C (350°F) for 8 to 10 minutes until the edges are deep golden and crispy and the cheese has fully melted inside. They go fast in the oven so check them at 8 minutes the first time you make these.Serve immediately. These are a hot-out-of-the-oven situation — they're still good after they cool down but the crunch is best in the first few minutes.
Advertisements
Love this recipe? Join Lady's Universe Club.
Subscribe


Leave a Reply